
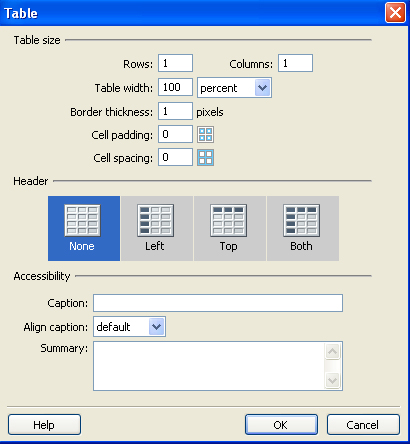
Create a new Dreamweaver HTML document, go Insert > Table and choose these options.

Center the Table at the bottom (Align > Center)

Split the first, third and Sixth Row im to 2 Columns by right clicking in the row and going Table > Split Cell …

In the first Row and Column put the company logo, by going Insert > Image.
In the second column we are going to put four conservatory images.

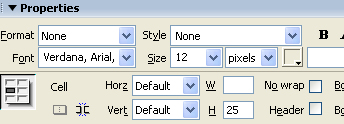
There next to each other, to get a space between them, click on each image and go to the bottom Properties and choosing a H Space(horizontal space) : 2 Pixels like bellow:

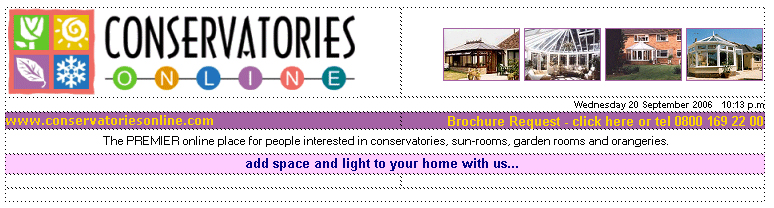
in our third row we are going to use a background colour of Purple, you do this by clicking inside the row or highlighting it and go to the bottom properties and choose Bg colour, you can type in the hex code or choose from a selection of colours. We will also choose the colour, font and size of the text for “www.conservatoriesonline.com” and type in the left column “www.conservatoriesonline.com”. In the right column we will be typing Brochure Request.

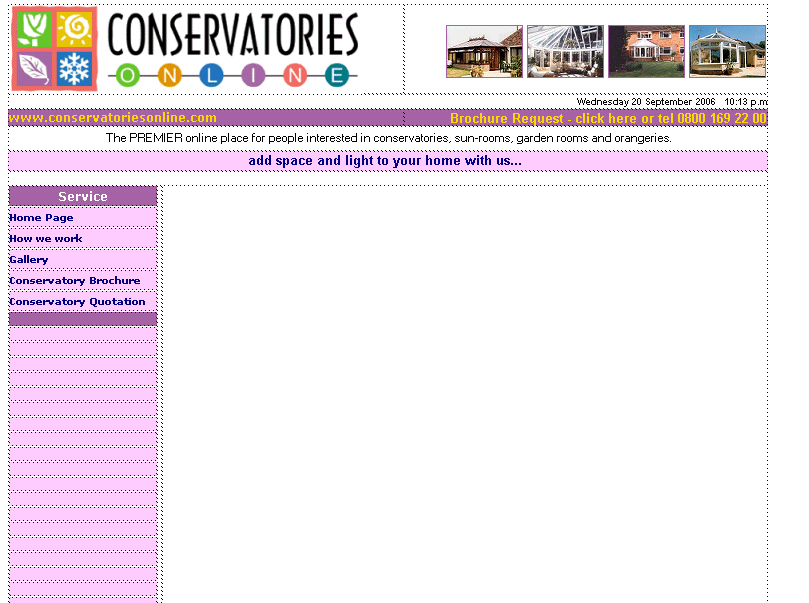
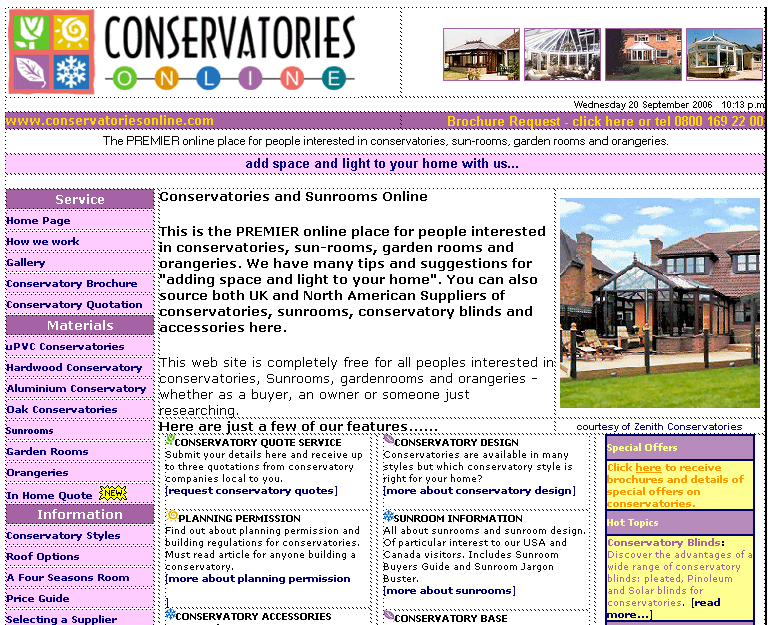
You Should Now Have This:

In the Second row we will put our data/time script. in the Fourth row we will put some text discription. In the 5th row we will choose a bg colour and type in our text in a blue colour. We are going to make the Cell Vert: 25 pixels so that its not squashed down.
You should now have this:
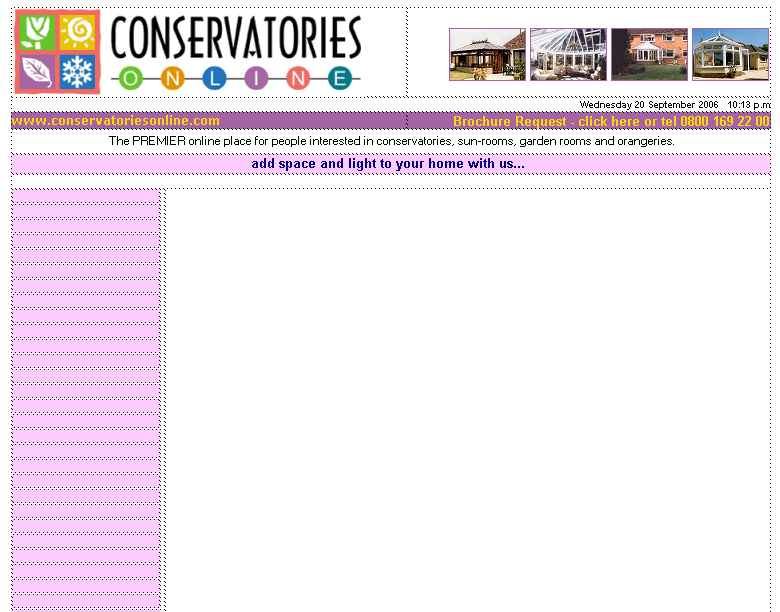
In the sixth row, left column we are going to put in our navigation, go Insert > Table and choose these options:

We are going to choose a pink background to our table, you should now have this:
For the first row in the table we are going to choose a darker pink and our text, font and size options. These are the options im using:

in the next rows we are going to put our links, highlight each text links, to link them go to the bottom properties and choose the Link url, ive chosen index.html as my link is to the homepage.

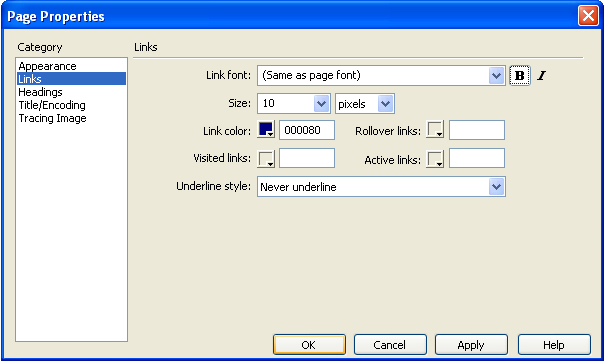
To change the colour of a link we have to go to our Page Properties, you can find the link to Page Properties by going to the bottom Properties and clicking on the button. We are going to choose to not underline our links, change the colour and size. Ive chosen these options:
You Should Now Have This:
After finishing your buttons we are going to click inside the right side column to start on the content, we are going to align the cell, Horz: Left Vert: Top, it sets the page in the middle by default.
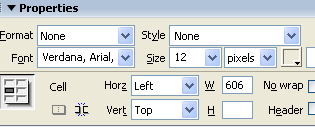
We are going to put in another table with these options (Insert > Table)
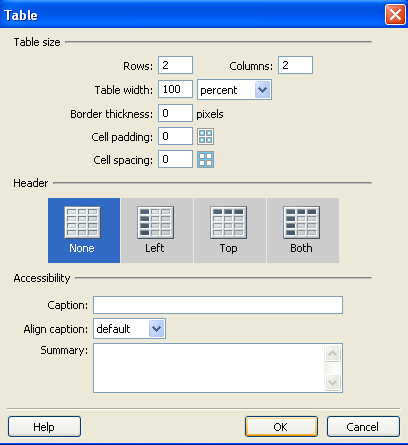
In the left column will go our text and in our right will be a image of a conservatory (Insert > Image to insert a image).
If you look to the top of your dreamweaver page you will see a Title option with the default title as Title: Untitled Document, we can change this to whatever you want, I’ve chosen to change it to: Conservatories and Sunrooms Online, UK, USA
![]()
This title will be previewed at the top of your browser as you can see bellow:
![]()
Bellow our first part of content we are going to put another table using these options:

Inside the first 2 columns we are going to put another table with these options:

In each row in the columns put content and link it to your subpages, before each description we have used a garden Icon.
You Should Now Have This:

In the far right Column you are going to put in a table with these Options:

We are going to give the table these options:

For the 1st, 3rd, 5th and 7th row we are going to choose a link background. Enter in your text.
You Should Now Have This:
Bellow that we are going to add another table with these options:
We are going to give the table a pink background and a dark yellow border as seen bellow:

We put in our title, bellow this we are going to add another table with these options:

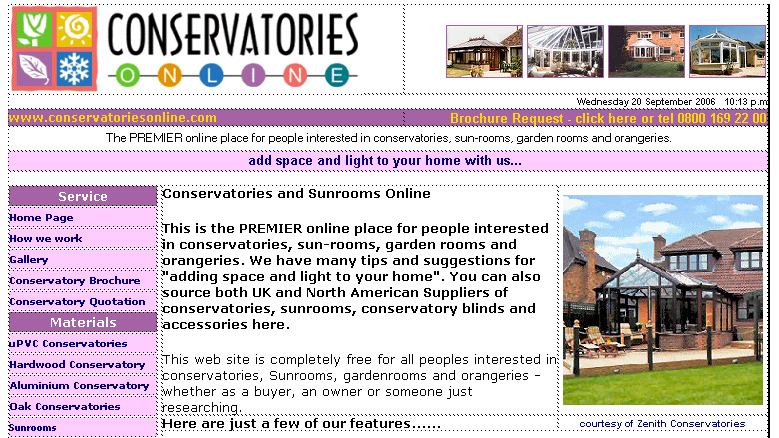
In the left column we are going to put another conservatory image and align it to the right. In the right column will go our content and link to read more, align this also to the right.
You should now have this:
After this if you hold down Shift Enter, it will only make a one line gap instead of the default two lines. In the bottom row put a pink background and your text. Under this we are going to put our sponsors.

Well done, your now a Dreamweaver Pro.
from: http://www.webdesigndev.com/